How to start a Symfony 7 application with Docker without having PHP locally installed on your machine
Introduction
As a full stack developer, I usually have so many projects that I will be working on. Obviously, each project is different from the other ones in many different ways, for example the underlying language, the database required, the package ecosystems, amongst many other variables.
To support development of these projects, you often need to install the different runtimes required, for instance, you might need to install and configure multiple versions of PHP, install different database types e.g. MySQL, PostgreSQL or MongoDB, as well as ensure that each project is properly configured to use only the resources it is built for.
Obviously, this leads to having so much bloat on your poor-old development laptop, which might be a nightmare to set-up again in case you format your machine (which I do most of the time) or get a new one.
I started using virtualization tools like VirtualBox and Vagrant to create separate virtual development machines for each environment that I needed. This way, I could automatically boot up a virtual machine with PHP7.4+ for projects that needed it, or one with PHP5.6 for the older (legacy) projects. Check out my open source repository lampset on GitHub for an automation script I used to run to do this.
The downside with virtual machines is that they are very resource intensive, since they are virtually operating systems running on top of you main operating system. For me though, the main reason for looking for alternatives to virtual machines was that the provisioning of my environments after a clean install could take an hour or two after a clean install (remember that I tend to find myself formatting my laptop a lot).
And then there was Docker!
Containerization technology especially Docker started gaining widespread adoption, or at least I started to become aware of it. With containerization, the promise was that it was fast and more optimal in terms of resource utilization. Also, because projects could be packaged as containers, it meant that I no longer needed to share virtualmachines between projects, and each project could declare it's dependencies in a Dockerfile checked into source code control (git), saving "future-me" the trouble of figuring out how to run a project six months later.
Since I work mostly with the Symfony PHP Framework in a significant number of my projects, I looked for ways to have run a self-contained Symfony PHP application with all it's dependencies without having to have a locally installed PHP runtime or database.
This article is a guide on how to run a full stack Symfony application that has a MySQL database backend and phpMyAdmin. This set up is only for local development and dependency declarations, and is not how the application will be packaged and deployed in production.
Requirements
You need to have only the following installed on your laptop.
Disclaimer: I have tested the setup I am describing in this guide on Linux as well as MacOS. I haven't tried it on Windows though (since I do not have a Windows computer) and I cannot vouch for how Docker performs on Windows these days.
Getting Started
Please note that all the source code for this guide is available on GitHub.
1. Create a Dockerfile for the Apache2 web server in which Symfony will run
In order to install Symfony 7, my server needs to meet standard PHP requirements as documented here.
I am going to use apache2 and PHP8.2 to host and run the application, and as a result I will create a Dockerfile that uses php:8.2-apache as a base image.
FROM php:8.2-apacheNext, my project will use the directory /var/www/project as a working directory, so I declare that in the Dockerfile as well.
WORKDIR /var/www/projectAs per Symfony requirements, I ensure that all the required PHP extensions are installed and enabled.
# install php extensions
RUN docker-php-ext-install pdo pdo_mysql bcmath \
    && docker-php-ext-configure intl && docker-php-ext-install intl

RUN docker-php-ext-install gd
What is a PHP project without Composer? So let's add that.
# install composer
COPY --from=composer:latest /usr/bin/composer /usr/local/bin/composer
Next up is installing the Symfony CLI binary, so that we can have all the goodies that come with it.
# install symfony
RUN curl -1sLf 'https://dl.cloudsmith.io/public/symfony/stable/setup.deb.sh' | bash
RUN apt install symfony-cli -y
Lastly, let's enable Apache's mode-rewrite to ensure that URLs are properly written.
# enable apache2 modules
RUN a2enmod rewrite
Source Code: https://github.com/gmurambadoro/symfony-lamp-stack-with-docker/blob/main/Dockerfile
2. Add the the database and phpMyAdmin service dependencies
Now that the web server has been scripted, let's move on to the database. I will use the following official images:
- mysql for the database.
- phpmyadmin for the database browser.
I do not need to modify any of these images, so I will declare these containers in a docker-compose.yaml file as below:
services:
  db: # The service name or host to the database
    image: mysql
    restart: unless-stopped # ensures that the service automatically runs as soon as Docker starts up
    volumes:
      - mysql_data:/var/lib/mysql # persistent volume to ensure that database changes are retained during container restarts
    environment:
      # I do not normally use root to log in to MySQL
      MYSQL_RANDOM_ROOT_PASSWORD: yes
      MYSQL_USER: app_development
      MYSQL_PASSWORD: password
      MYSQL_DATABASE: app_db

  phpmyadmin:
    image: phpmyadmin
    restart: unless-stopped
    ports:
      - "9981:80" # the service will be available in my browser at http://localhost:9981
    depends_on:
      - db
    environment:
      PMA_HOST: db # must match the service name used for the MySQL database above
      PMA_USER: app_development # must match the value of MYSQL_USER above
      PMA_PASSWORD: password # must match the value of MYSQL_PASSWORD above

volumes:
  mysql_data: # the volume name used in db:volumes above
Under the services section, I declared db as the database server and phpmyadmin as the phpMyAdmin application that I will use to connect to the database. When running, this application will be accessible at the URL http://localhost:9981.
Whilst we are at it, I will also add a service called app that will be the Symfony application.
services:
    ....
      app:
        build:
          context: .
          dockerfile: Dockerfile
        hostname: app
        restart: unless-stopped
        container_name: symfony-app # A custom name to be used in build scripts
        depends_on:
          - db # requires the database service to be available
        ports:
          - "9980:80" # the service will be available in my browser at http://localhost:9980
        volumes:
          - .:/var/www/project # all files in current directory will also be available in the container, allowing you to update the source code with your IDE
          - ./000-default.conf:/etc/apache2/sites-available/000-default.conf:ro # Override the default apache vhost file to ensure that the symfony application is served by default
          # the contents of 000-default.conf is obtained from https://symfony.com/doc/current/setup/web_server_configuration.html, with modifications applied to match folder locations
The above declaration will create an app service for the web application that will be accessible via port 9980 of the host machine. Via a bind mount, the source code of the application will be shared between the container and the host operating system, allowing you to work on the project easily using your favourite IDE (PHPStorm).
Source Code: https://github.com/gmurambadoro/symfony-lamp-stack-with-docker/blob/main/docker-compose.yaml
3. Build the containers
Because I do not have composer and php installed locally on my host operating system, I cannot immediately installed the Symfony framework upon which the application is built. I will have to do that insider of the app container.
To build the application, I am going to run docker compose up --build -d. This will provision the entire application stack as defined in the Dockerfile and docker-compose.yaml files. The -d flag runs the containers in the background when the build process is complete.
 => => writing image sha256:68cbf6b9d16168456ba737a74778553e7d81b0f48ac5a75d9d91569c89633260                                                                                                                                   0.0s
 => => naming to docker.io/library/symfony-lamp-stack-with-docker-app                                                                                                                                                          0.0s
[+] Running 3/3
 ✔ Container symfony-lamp-stack-with-docker-db-1          Started                                                                                                                                                              0.2s
 ✔ Container symfony-app                                  Started                                                                                                                                                              0.5s
 ✔ Container symfony-lamp-stack-with-docker-phpmyadmin-1  Started
4. Log into the web server container
Now that the containers have been built and are running, if you navigate to http://localhost:9980 you will encounter the following error:
Not Found
The requested URL was not found on this server.

Apache/2.4.59 (Debian) Server at localhost Port 9980
This is because we haven't installed the Symfony framework yet. In order to install the framework, log in to the app container using the container's name symfony-app that we defined in the docker-compose.yaml file.
docker exec -it symfony-app bashThis will log you into the container in take you to the workspace folder /var/www/project. Running the ls will display the files that are in this folder - these are the same files that are on the host computer as well.
root@app:/var/www/project# ls
000-default.conf  Dockerfile  LICENSE  README.md  docker-compose.yaml
5. Install Symfony 7-stable
Run $ symfony -V inside the container to make sure that the symfony-cli is installed.
root@app:/var/www/project# symfony -V
Symfony CLI version 5.8.19 (c) 2021-2024 Fabien Potencier (2024-05-10T07:24:31Z - stable)
Now run the $ symfony new command to install Symfony. We will install the application into a tmp directory called app.
root@app:/var/www/project# symfony new --webapp --version=stable --php=8.2 app
* Creating a new Symfony 7.0 project with Composer
  (running /usr/local/bin/composer create-project symfony/skeleton /var/www/project/app 7.0.* --no-interaction)

 ◒
When the installation is done, we need to manually copy all the files and folders inside the ./app directory to the parent folder, except for the ./git folder. Run the following commands in the terminal:
cd app
rm -rf .git
mv * ../
mv .env ../
mv .gitignore ../
mv .php-version ../
cd ../
rmdir app
6. Run the application
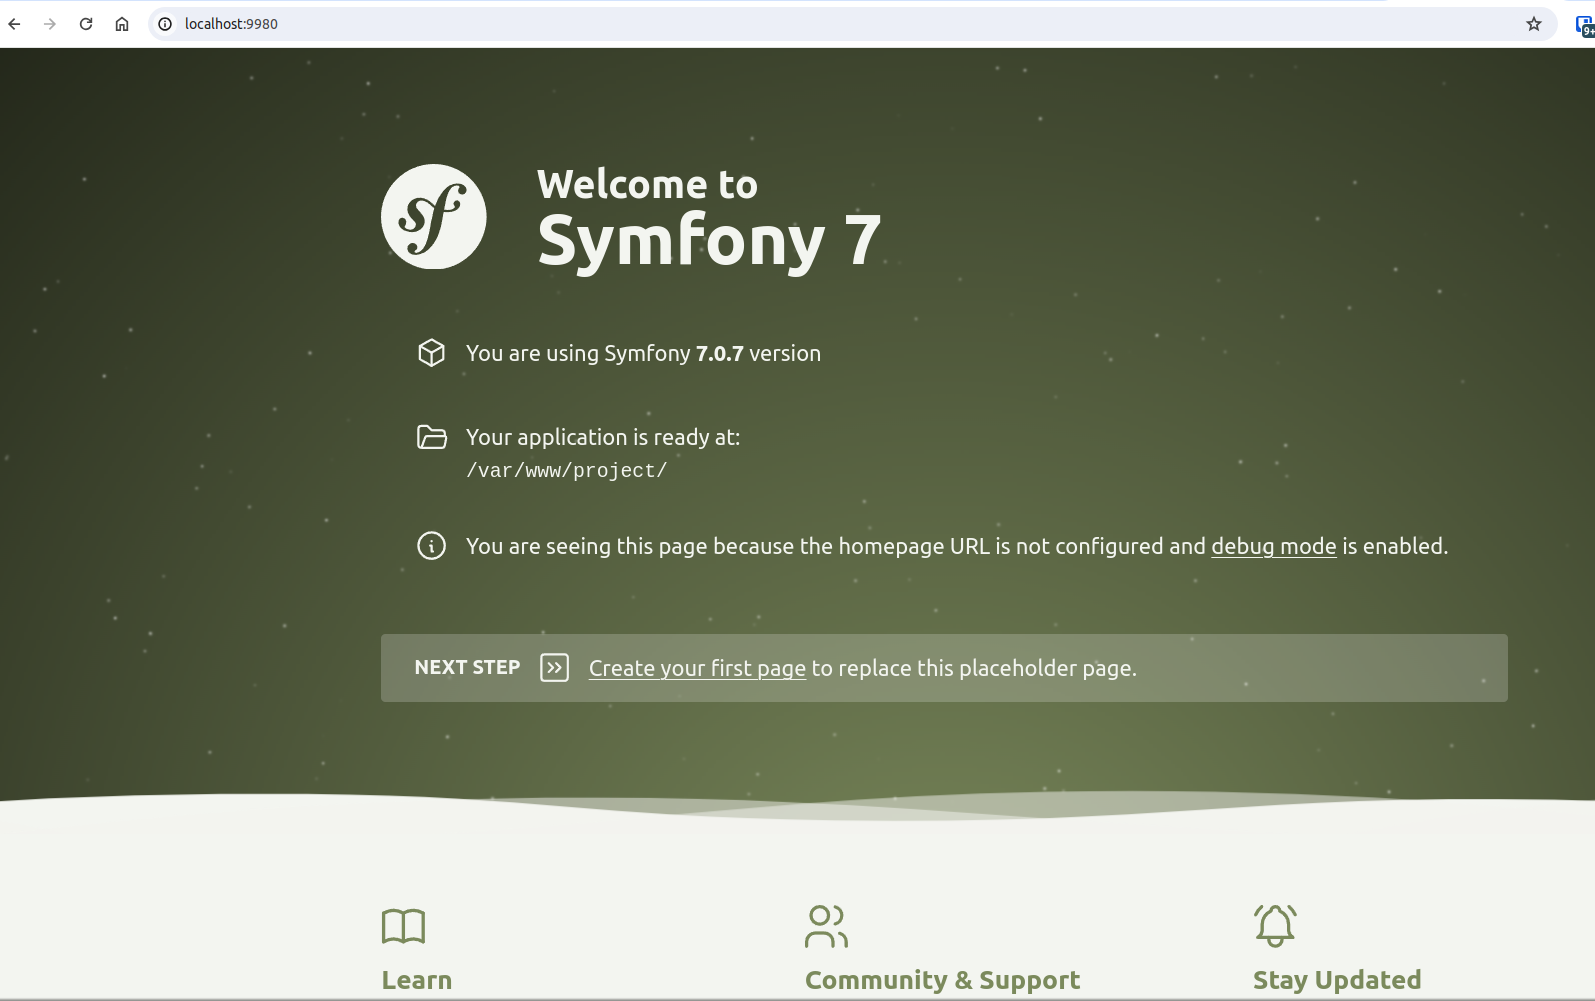
At this stage, Symfony is now installed. If you navigate to http://localhost:9980 on your browser, you will see the application running.

6.1 phpMyAdmin connection errors!
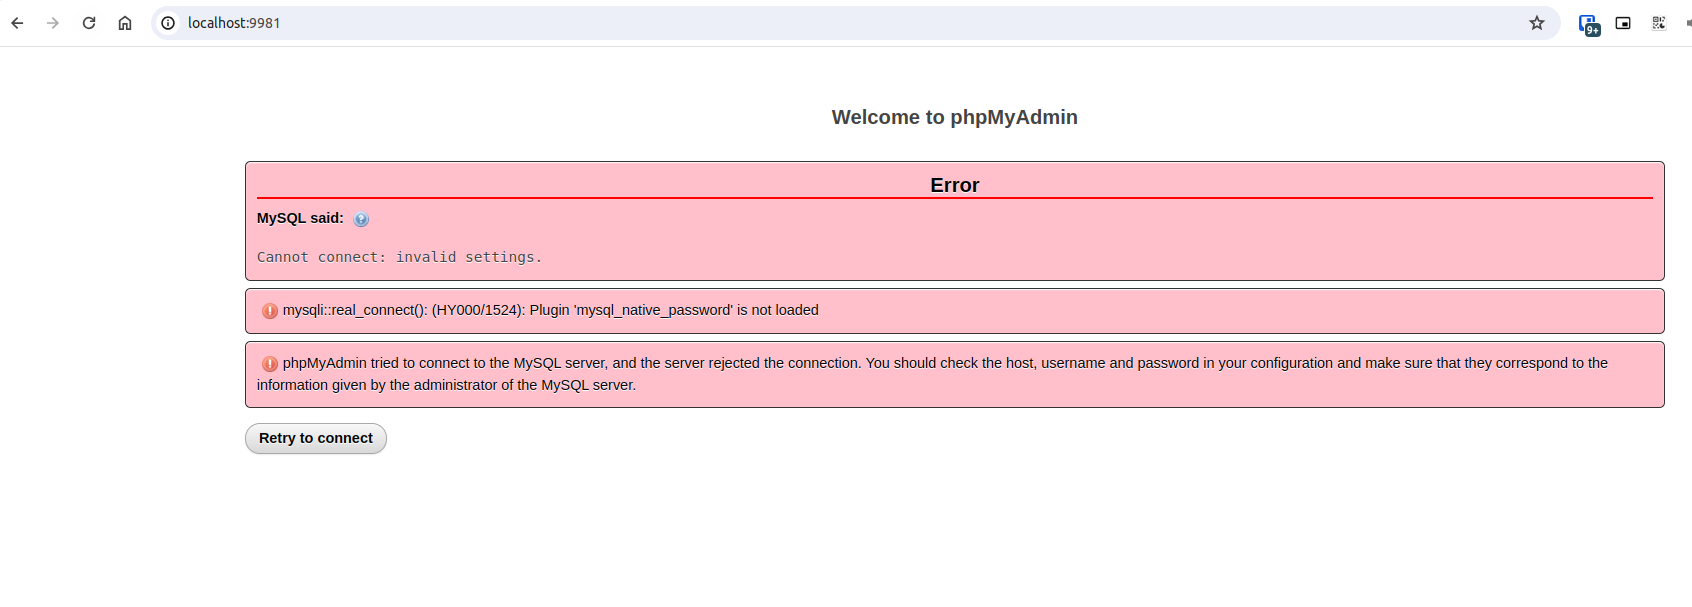
If you navigate to http://localhost:9981 you will be able to access the database via phpMyAdmin.

To fix this error, add the following line under restart in the service definition of db in the docker-compose.yaml file.
command: --default-authentication-plugin=mysql_native_password # Fixes the "mysqli::real_connect(): (HY000/1524): Plugin 'mysql_native_password' is not loaded" error
In the terminal, press Ctrl+D to exit and go to the host shell, and rebuild the containers:
docker compose down --volumes
docker compose up --build -d
Note: I still encountered issues with connection. To fix this, I have to pin the mysql image version to mysql:8.0.

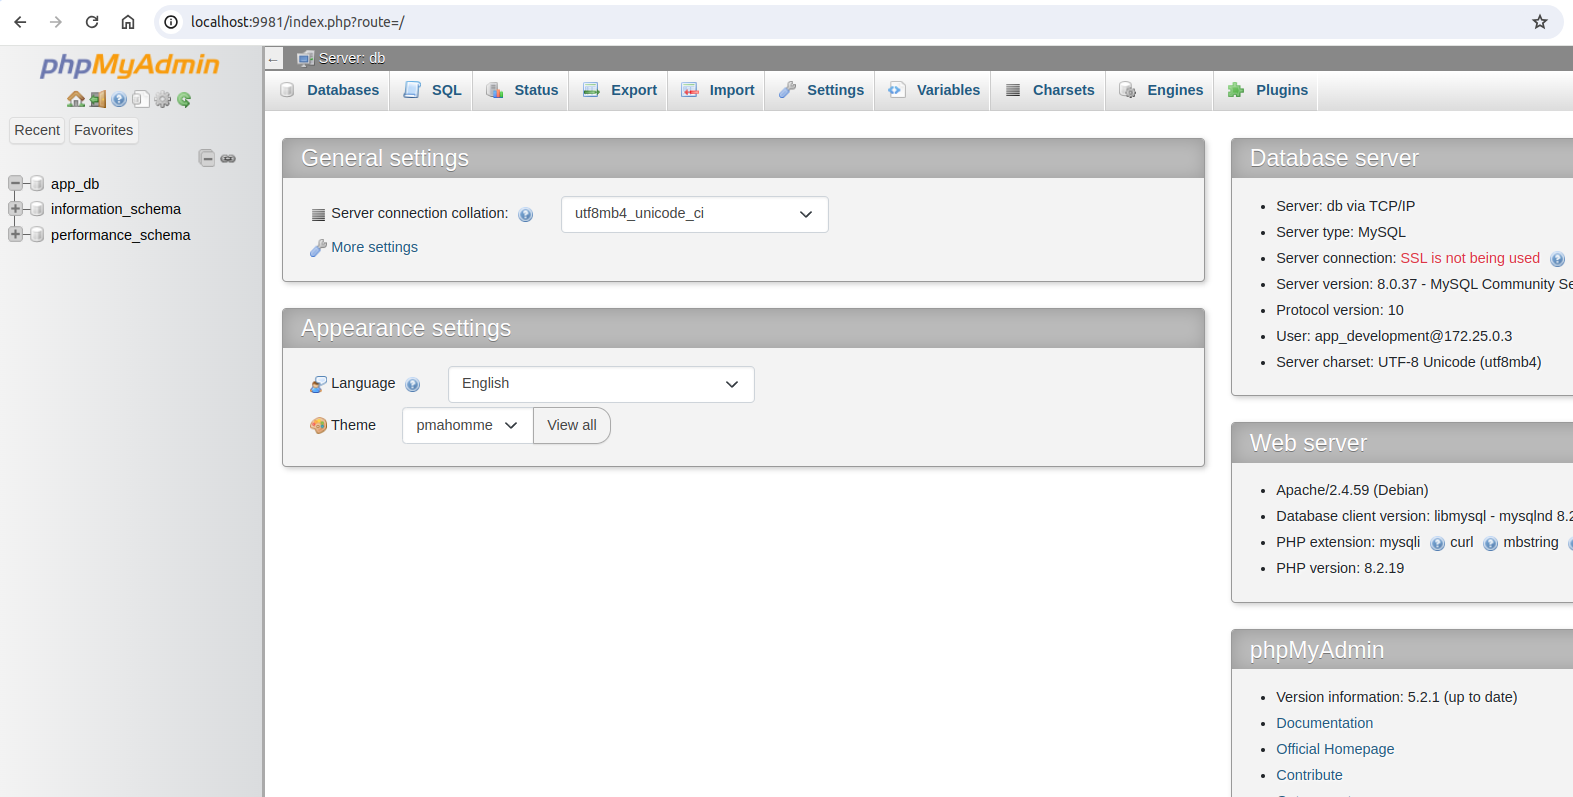
I ran the commands docker compose down --volumes && docker compose up --build -d again and navigating to http://localhost:9981 shows the database admin page.

7. Install packages using composer as you need them
Lastly, let's install standard Symfony web application packages. You have to log back into the container.
 docker exec -it symfony-app bash
 symfony composer req orm symfony/apache-pack
 symfony composer req --dev symfony/maker-bundle symfony/profiler-pack
To connect the application to the database, set the DATABASE_URL to point to the db service in the .env file.
DATABASE_URL="mysql://app_development:password@db:3306/app_db?serverVersion=8.0.32&charset=utf8mb4"

Conclusion
At this time, you have a complete Symfony web application with core packages and bundles to start building.
The complete source code is found here: https://github.com/gmurambadoro/symfony-lamp-stack-with-docker.